Scheduling app releases with Xcode Cloud

Go from confusion to confidence with a step-by-step Swift Concurrency course, helping you smoothly migrate to Swift 6 and fully leverage its features.
Last week I wrote an article on how you can deploy beta versions of your app to TestFlight and an external service like Microsoft’s App Center.
This week I want to write about how you can fully automate your release process by running an Xcode Cloud workflow that archives an app and submits the generated artefact to TestFlight for external testing on a schedule. Specifically, I will set it up to run every Sunday evening.
I got the inspiration for this workflow from a tweet by Rudrank. In the tweet, Rudrank mentions that he keeps himself accountable for shipping new apps by scheduling a weekly deployment to TestFlight. I thought this was a brilliant idea, so I wanted to see if it was possible to do something similar with Xcode Cloud!
This blog post assumes that you’re familiar with creating an Xcode Cloud workflow. If you haven’t done this before and want to learn how to do so, please refer to this article in my blog..
General information
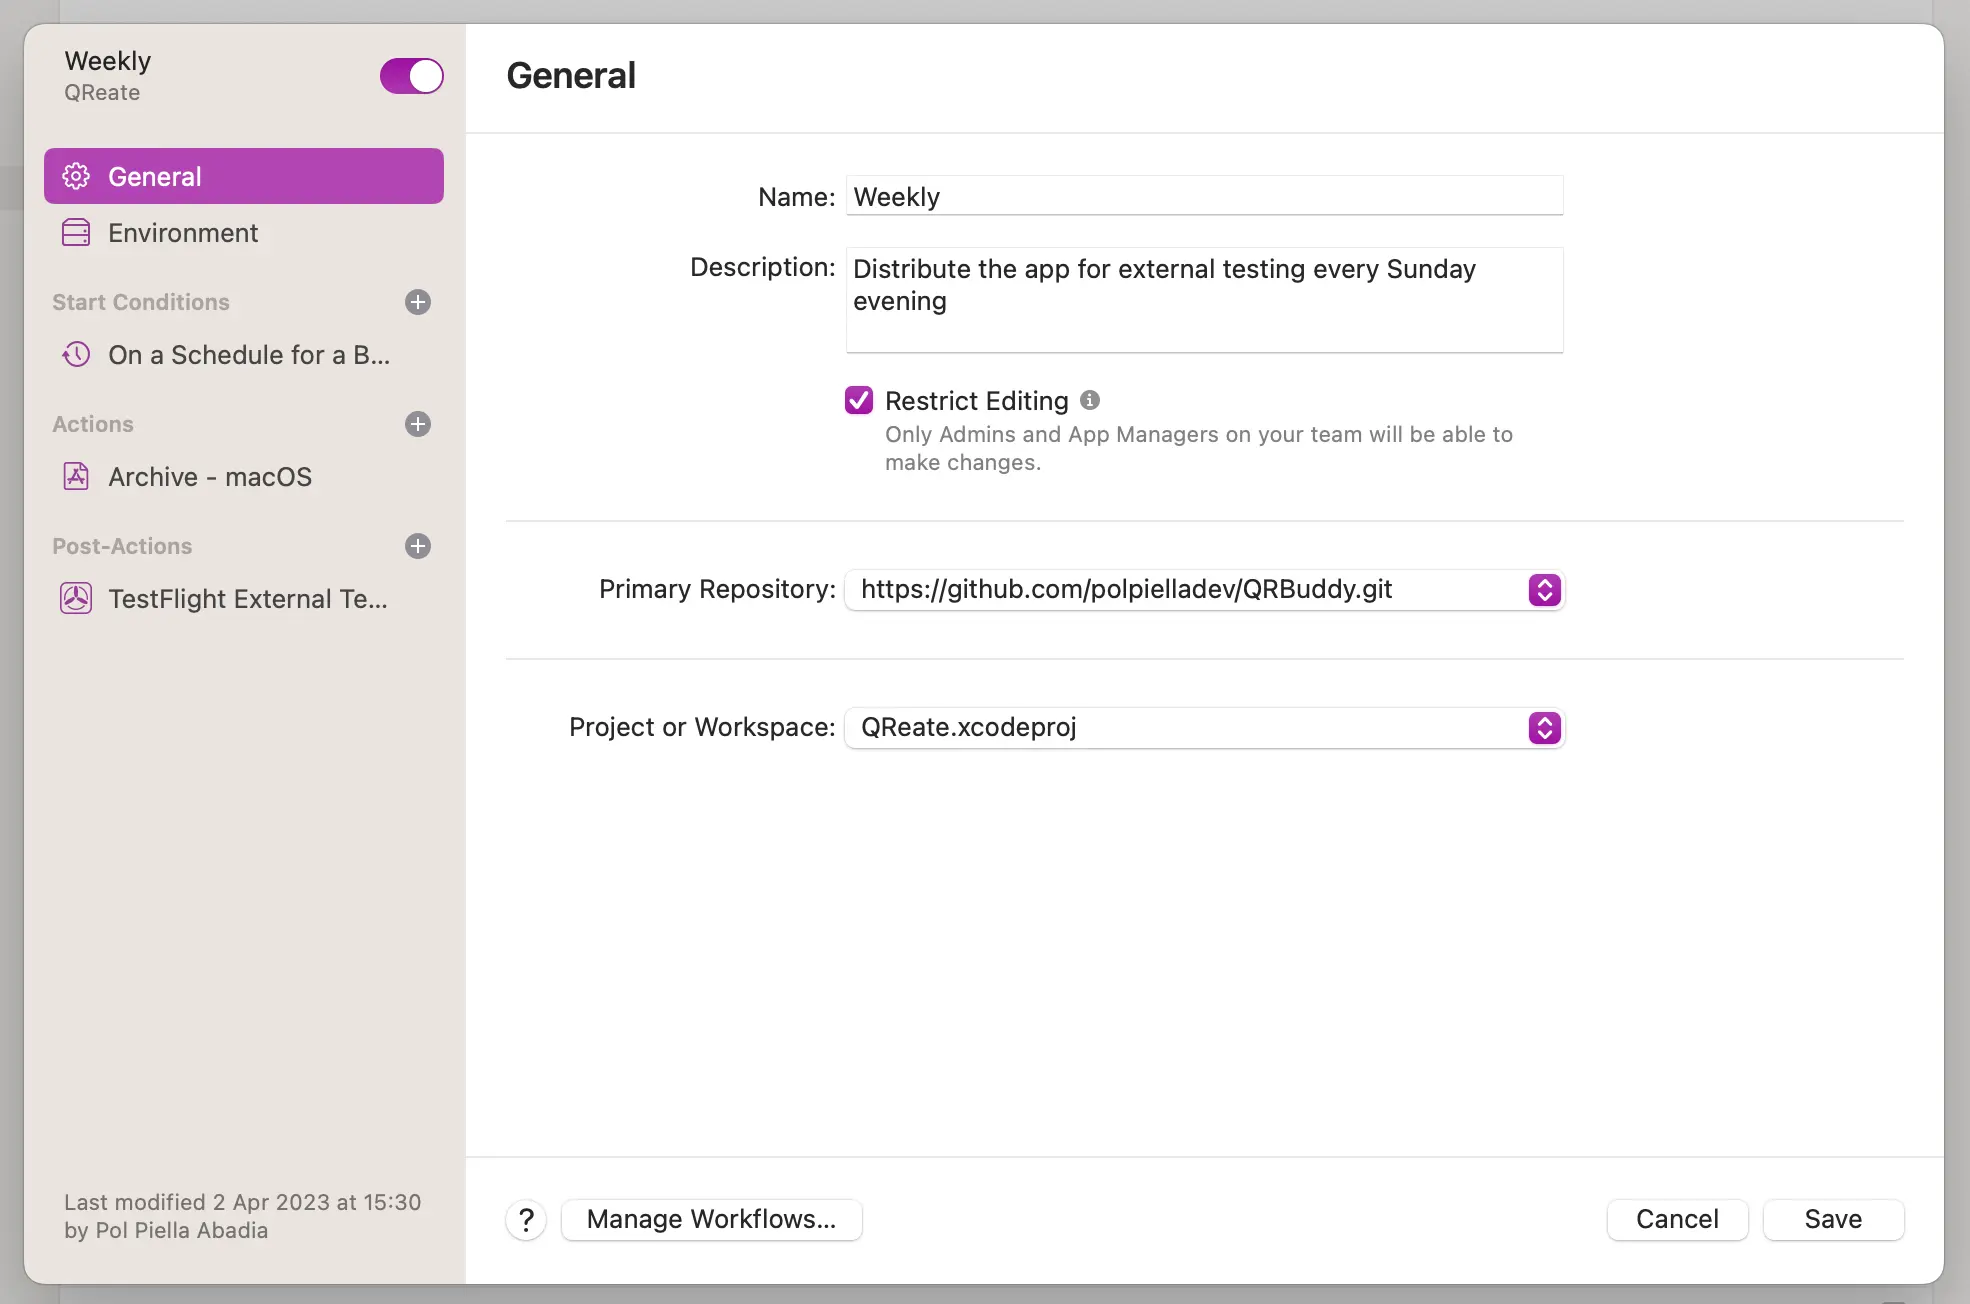
The first step to creating a new workflow is to fill in some general information such as its name and description. As this workflow is going to upload a build to an external testing group, you need to make sure that the ‘Restrict Editing’ option is checked.
This option will ensure that the workflow is only editable by users with admin or app manager user roles in your organisation in App Store Connect.
Environment
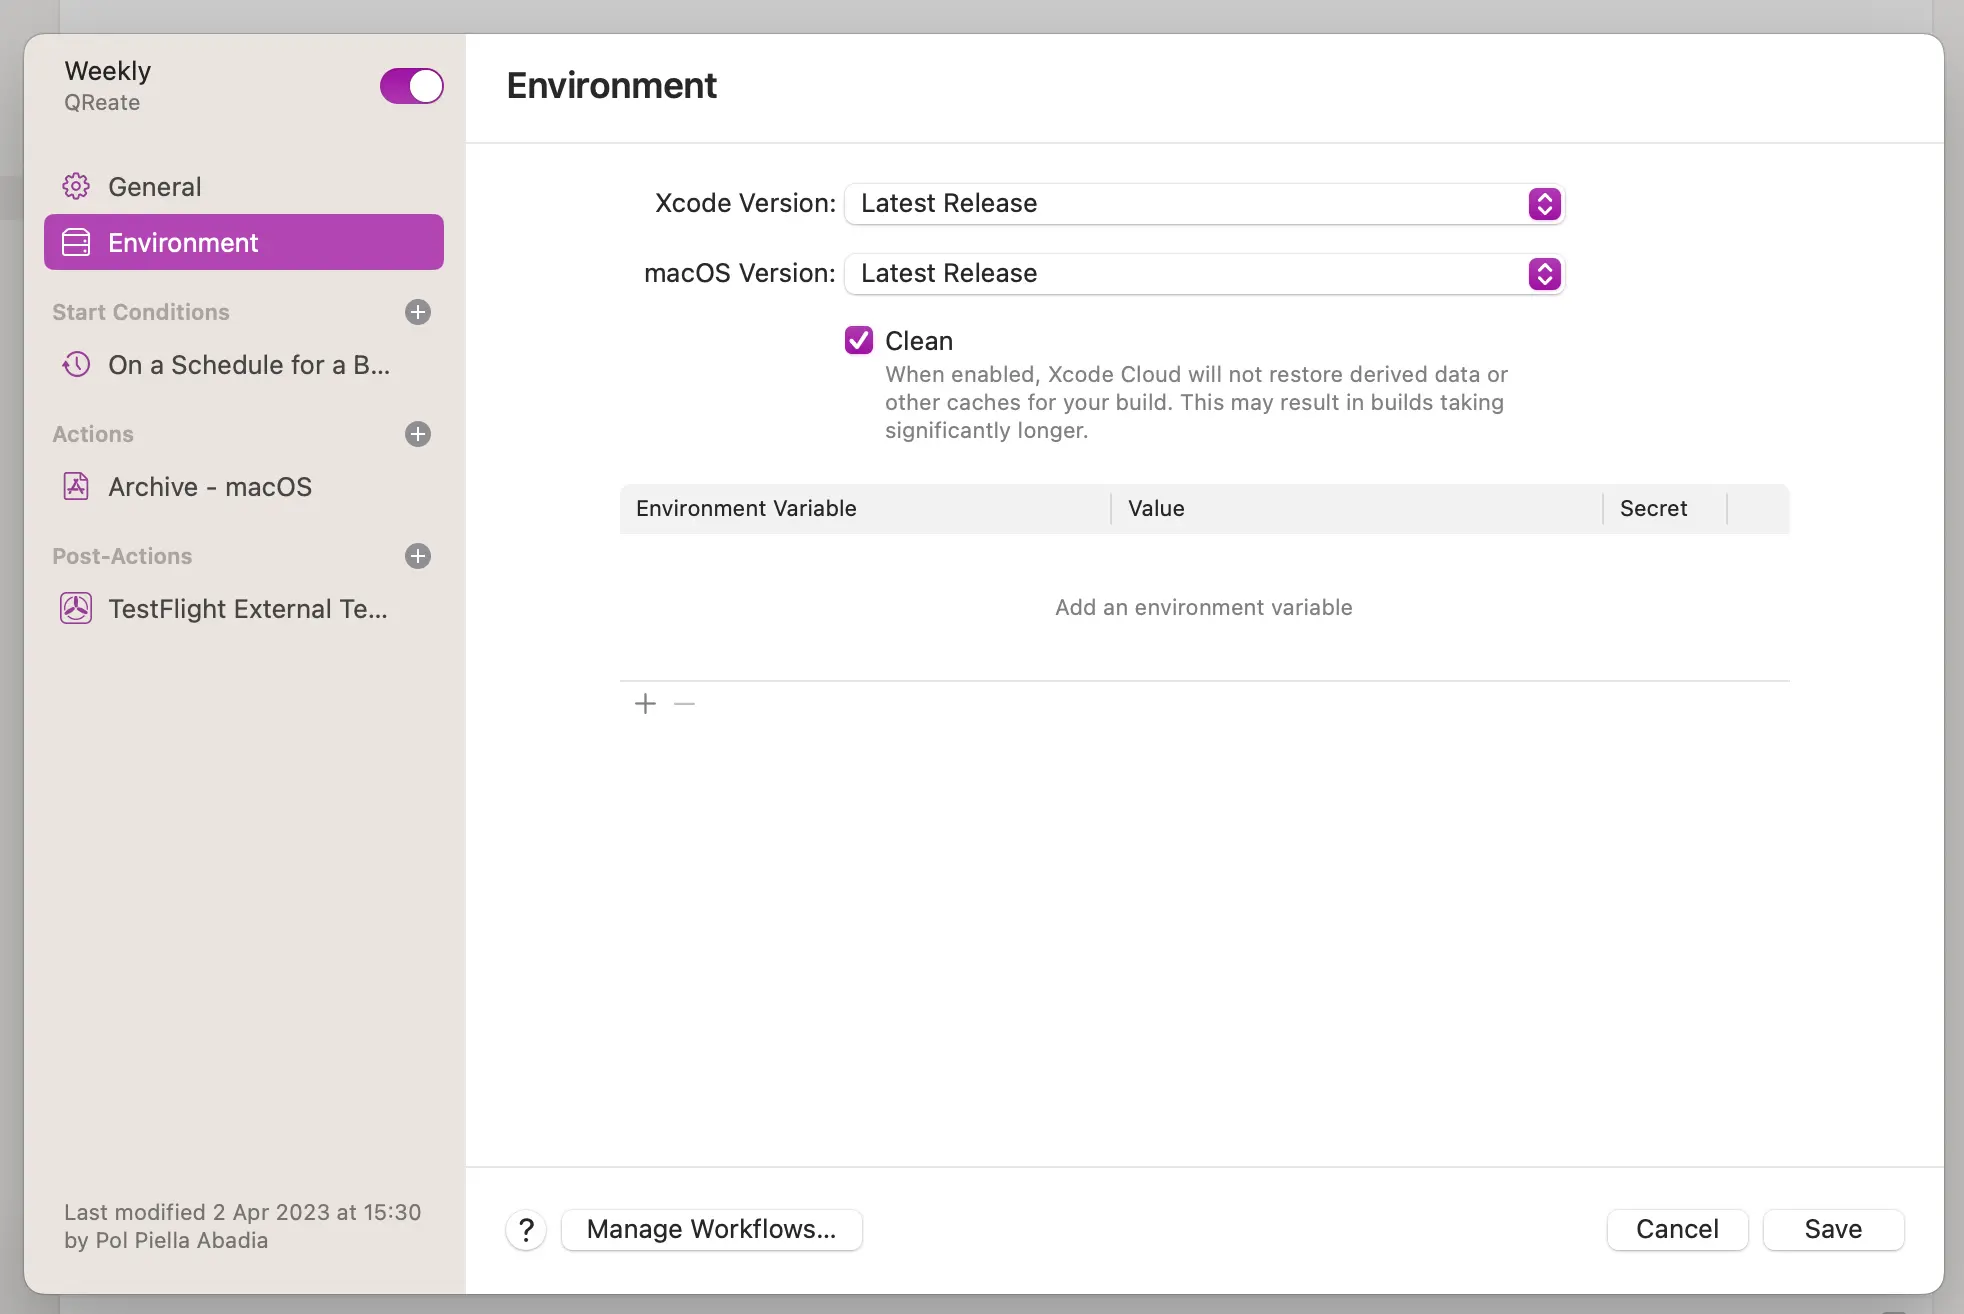
Next, select the Environment tab on the left-hand side and select a macOS and an Xcode version to use for this workflow.
As the workflow submits a build to TestFlight for external testing, you need to check the Clean box to make sure the workflow ignores any derived data and caches from previous jobs. If you don’t do this, Xcode Cloud will not let you create the workflow.
You can also define any environment variables or secrets the workflow will need to perform its actions at this point.
Running the workflow on a schedule
The next step is to set up the start conditions for the workflow. This workflow archives and distributes the application to all external testers on a schedule.
In my case, it will run every Sunday at 7 pm British time and will archive and deploy the changes from the latest commit in the main branch.
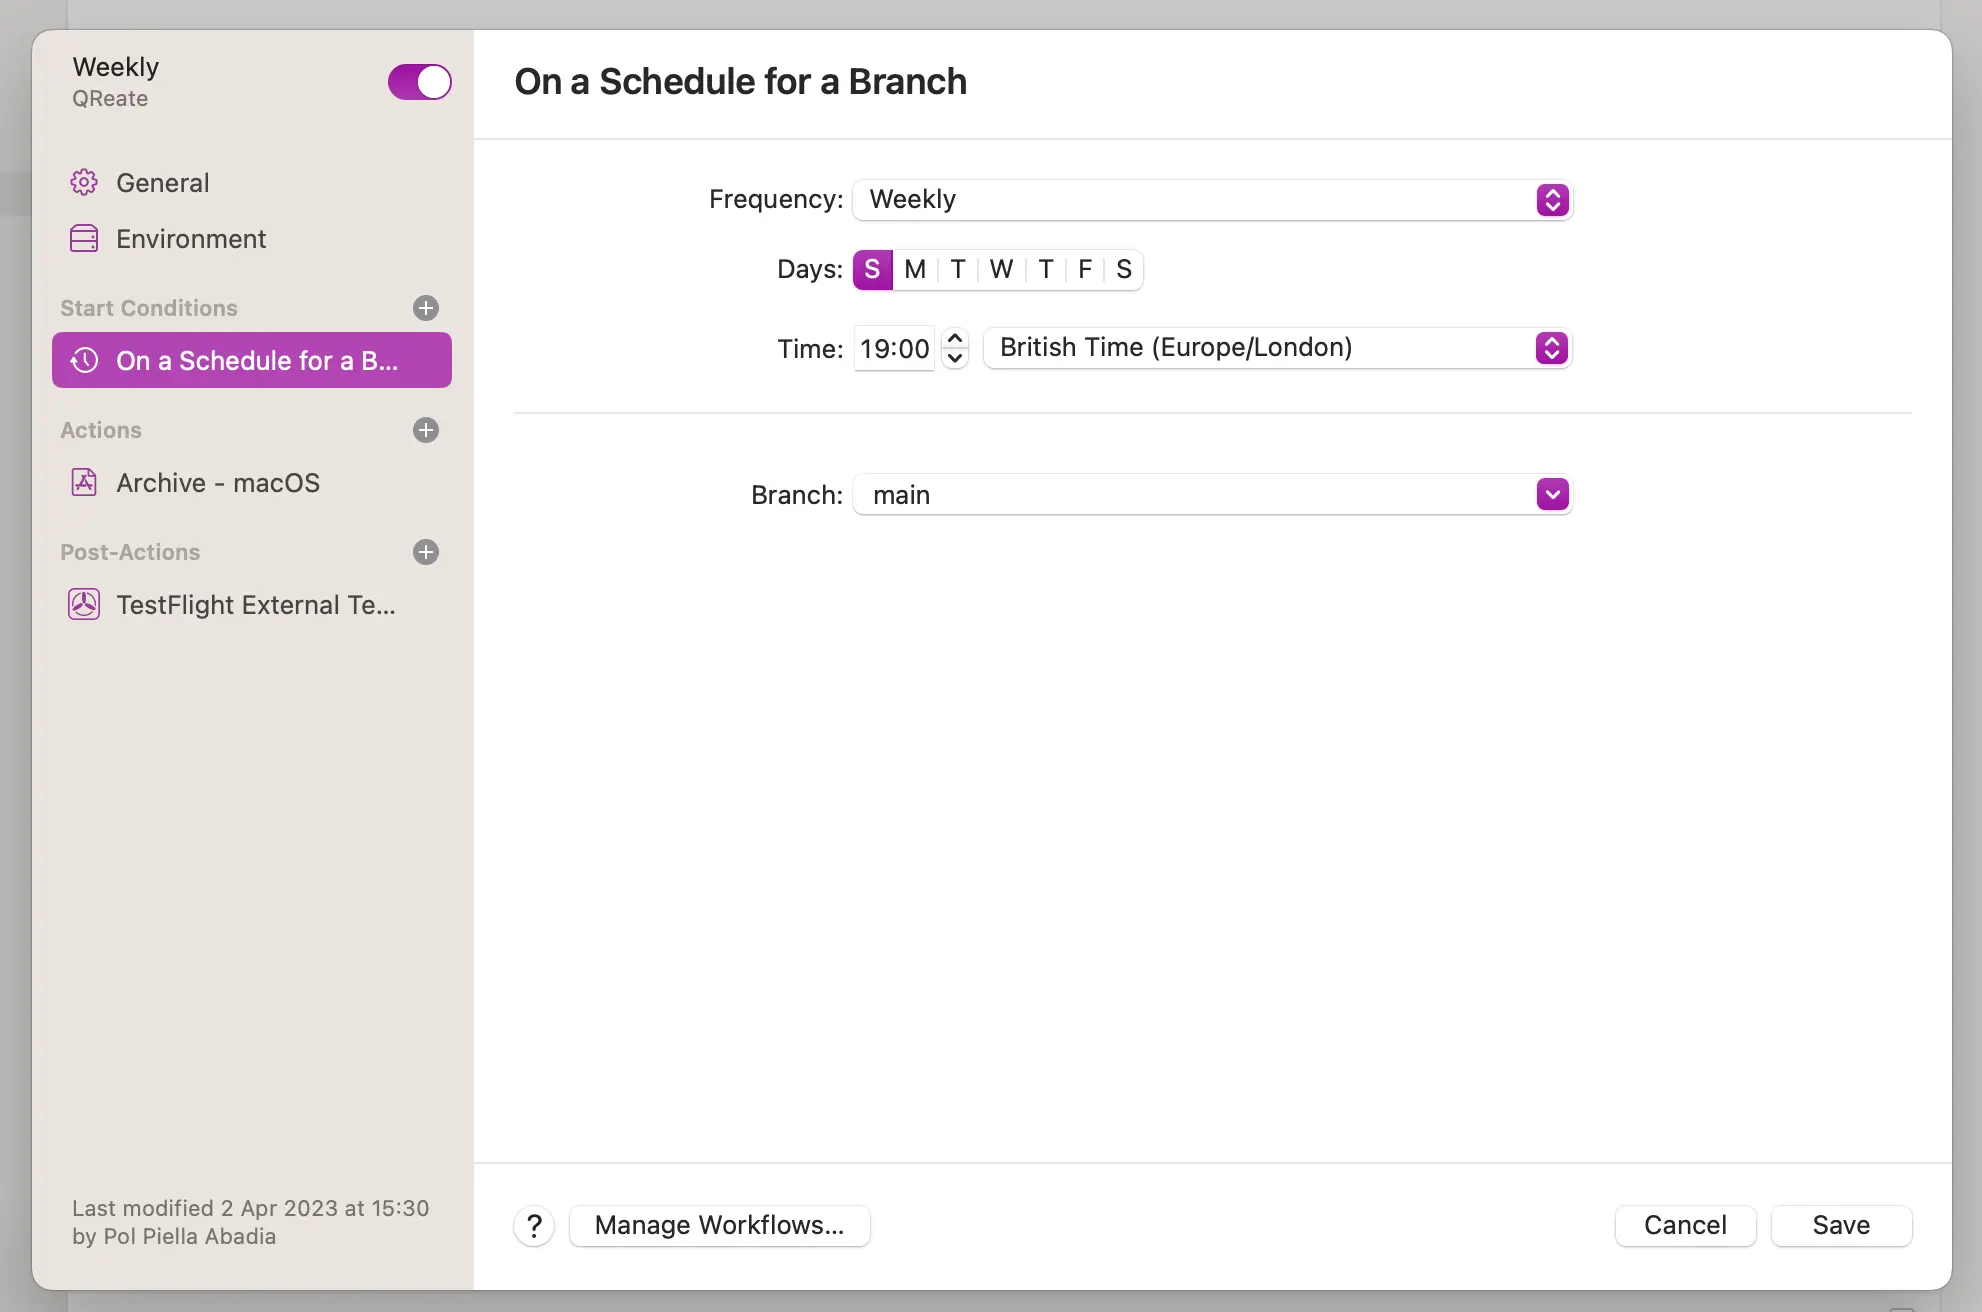
Note that there are several options available for setting the schedule frequency that works best for your use case:
- Weekly: Runs the workflow at a specific time and day every week.
- Daily: Runs the workflow at a specific time every day.
- Hourly: Runs the workflow at one of the following: on the hour, 15 minutes past the hour, 30 minutes past the hour or 45 minutes past the hour.
Archiving the app
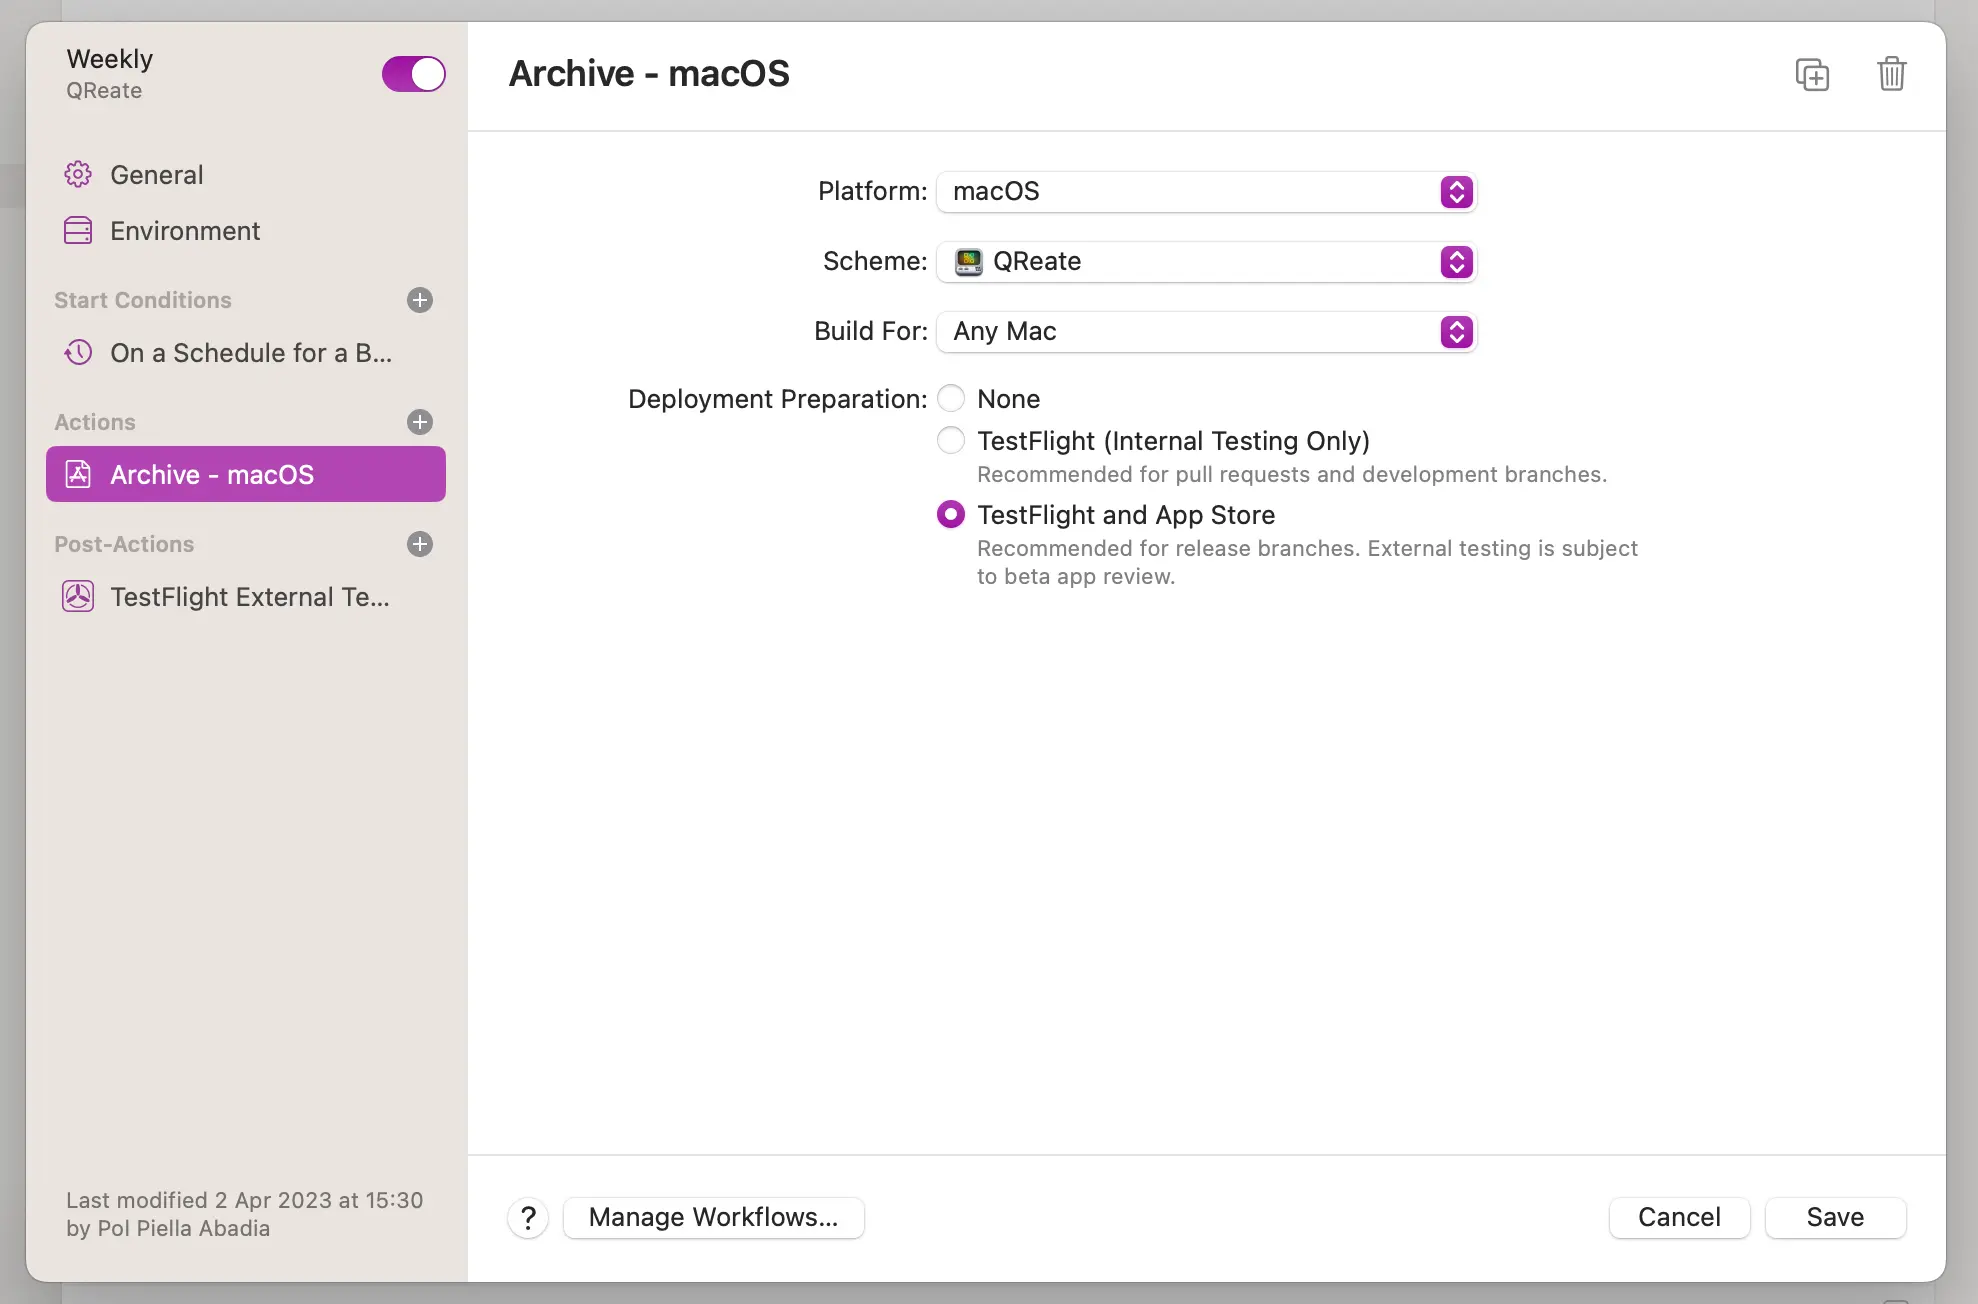
Next, you need to add an action to the workflow. Click on the + button next to the Actions section title on the left-hand side and select the Archive action from the list.
In the action’s settings, select the scheme you want to archive the app for and set the Deployment Preparation to TestFlight and App Store:
Submitting to TestFlight
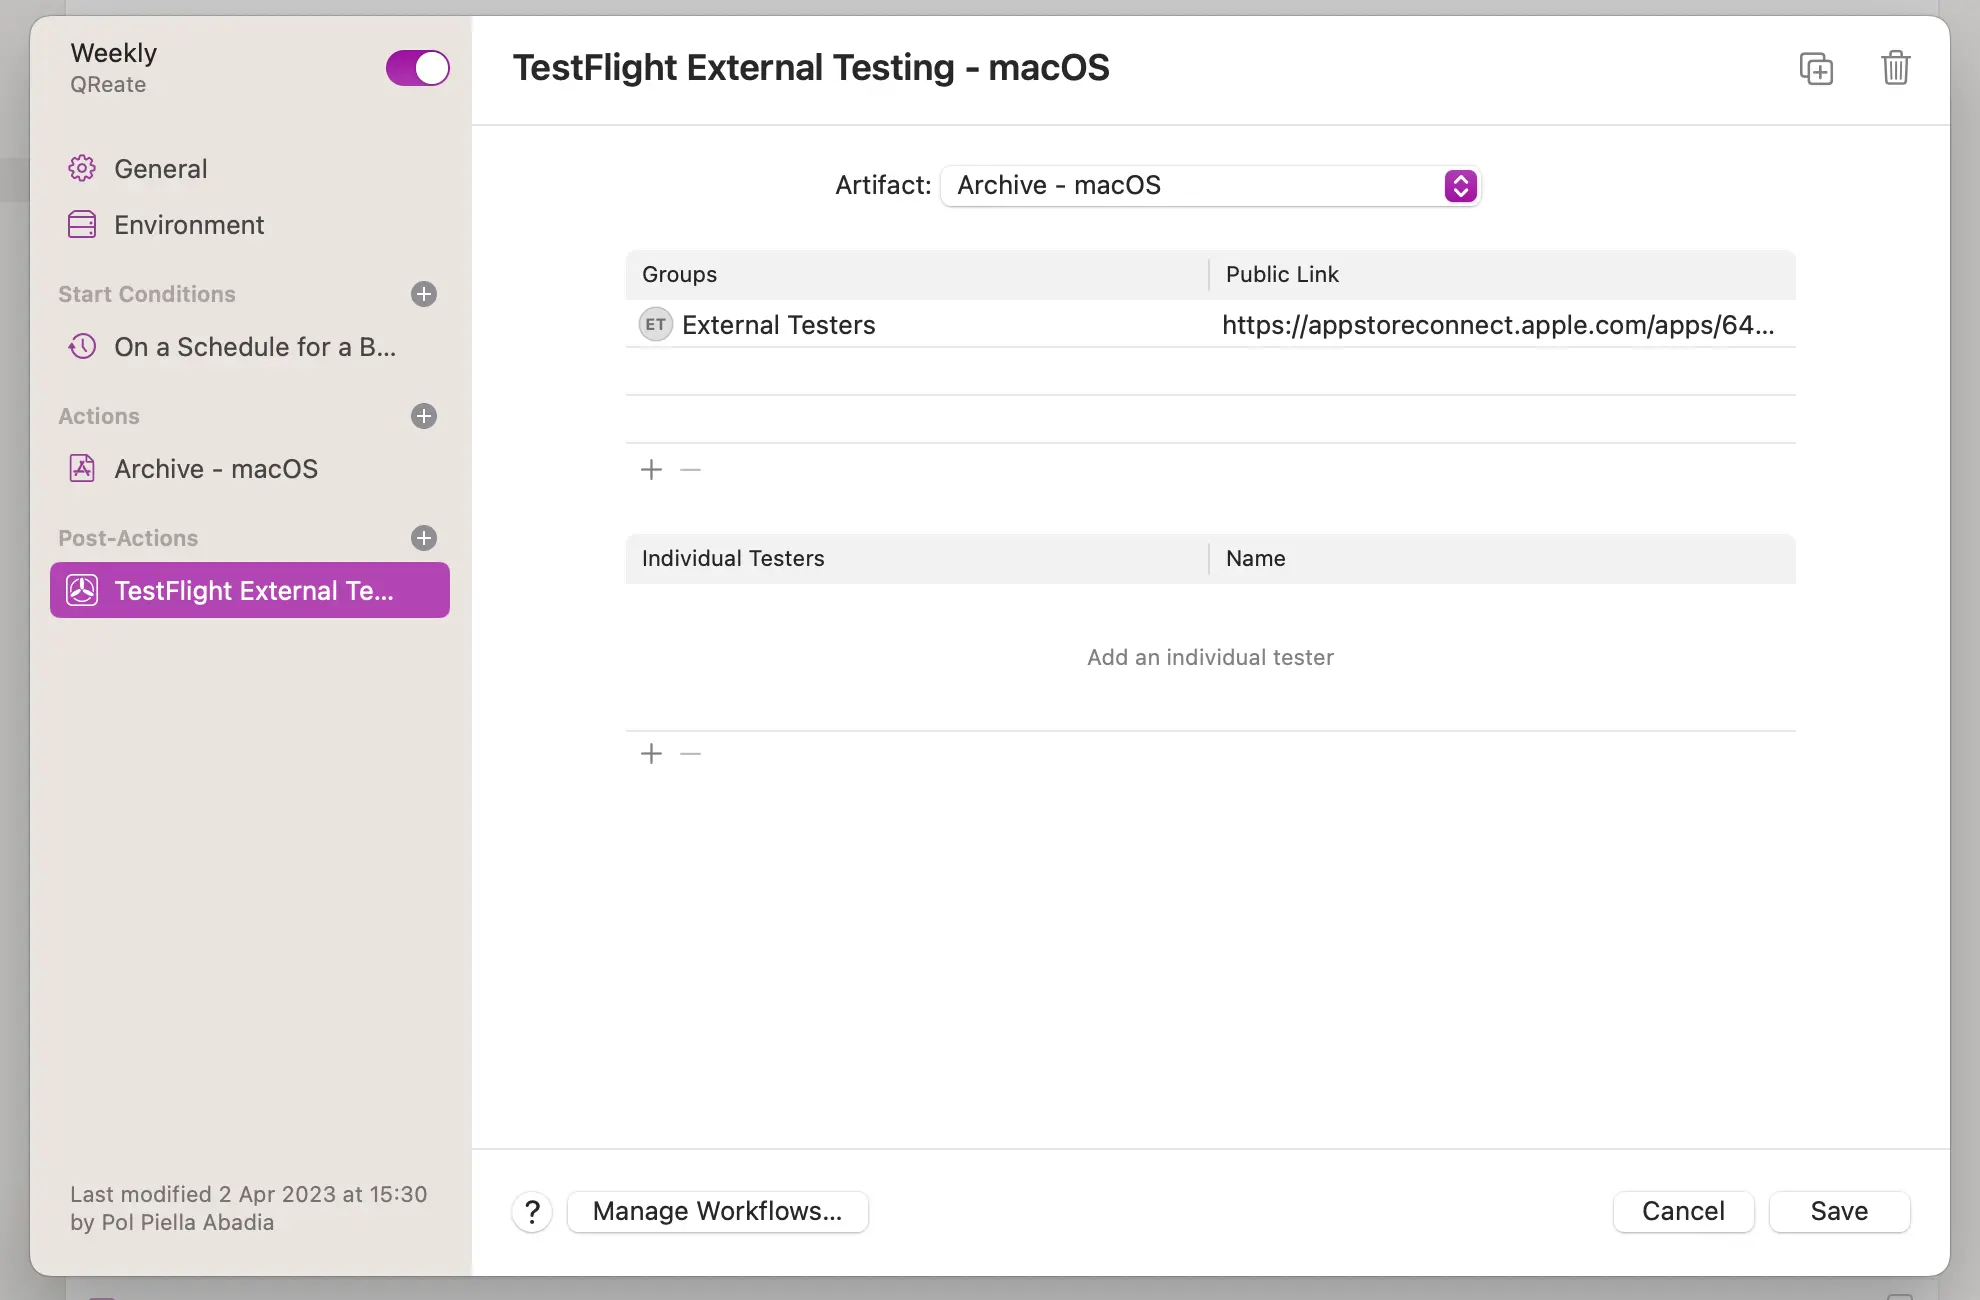
The final step of the workflow is to upload the build to TestFlight. To achieve this, click on the + button next to the Post-Actions section title and select the TestFlight External Testing option from the list.
In the post-action configuration, select both the archive from the previous action as the artefact and a distribution group of external beta testers to deliver the build to.
Something to keep in mind
That’s it, with just a few clicks you have scheduled a new workflow! This workflow submits an app for external testing and, for this reason, it needs to pass the beta review process in App Store Connect, which might take some time.
The status of this review process is reflected in the execution progress of the Xcode Cloud build so, even if the workflow succeeds, it will not show a green tick in App Store Connect or Xcode until the review passes.