Automate Apple app code signing using fastlane match

Go from confusion to confidence with a step-by-step Swift Concurrency course, helping you smoothly migrate to Swift 6 and fully leverage its features.
Code signing is a crucial part of the app development process as Apple requires any third-party code to be signed and authorized before it can run on device on any of its platforms. There are two key components to the code signing process: signing certificates and provisioning profiles.
In this article, I will provide an introduction to these two concepts and give you a step-by-step guide on how to automate the code signing process using fastlane match.
What are provisioning profiles?
The way Apple handles and validates that an app is authorized to run on a specific device is by using provisioning profiles. A provisioning profile is bundled with the final app binary and it gives the device the following information:
- Who can/has signed the app: The list of signing certificates used to sign the application or, in other words, a cryptographic representation of the developer who has built the app’s identity.
- What app the profile is for: A list of bundle identifiers for the app.
- Where is the app allowed to run: A list of allowed device IDs that can run the app.
- When can the app run on a specific device: The provisioning profile might have an expiry date after which the app is no longer authorized to run on devices.
- What is the app allowed to do?: A list of entitlements that the app has been granted access to. This usually gives the app access to specific hardware or software features on the device.
In other words, through the information stated in the provisioning profiles, Apple can protecting users by only allowing them to run code that has already been authorized and by limiting the access to the device’s hardware and software to only what the app is entitled to do.
What are signing certificates?
If provisioning profiles aim at protecting the user, signing certificates are Apple’s way to verify the identity of the app’s developer. Through a private key that is generated at the time of creating a signing certificate in the Apple Developer Portal, the developer can sign the app’s binary and prove that they are the ones who have built the app. This signature is also used to ensure that the app has not been tampered with or modified since it was originally signed.
As the signing certificate information is included in the provisioning profile, the device can verify that the app has been signed by the developer and that the developer is who they say they are at the time of installation.
Managing code signing
Whenever you want to build your app to a physical device or distribute it to the App Store, you will need to provide provisioning profiles and signing certificates as part of the build or archive process in Xcode.
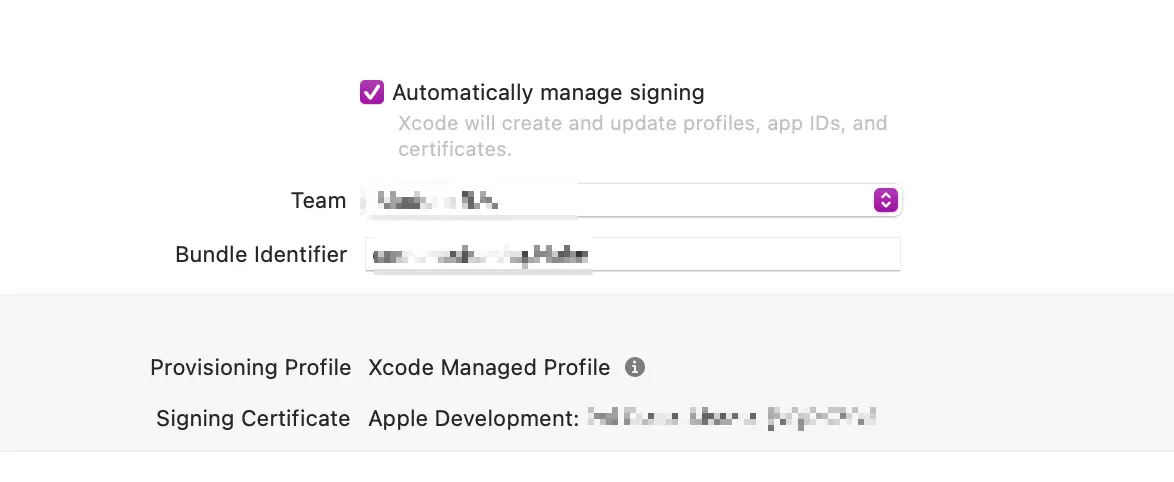
There are multiple ways of doing this, but the most tempting and easy way to handle this is to let Xcode manage the code signing for you by selecting the “Automatically manage signing” option in the project settings:

This approach works well for small teams or solo developers, but it is not scalable for larger teams. If you are part of a large team and manage certificates automatically or manually, you will most likely end up with a situation where each developer has their own set of code signing identities.
This can lead to a lot of duplication and confusion when it comes to updating signing identities to include new information such as new devices or team members.
Using fastlane match
fastlane match solves this issue in an ellegant way. A single code identity is created and stored in a localized and encrypted repository and is shared across the whole team. This way, all developers have access to the same code signing identities and provisioning profiles and can build and distribute the app without having to worry about code signing issues.
The first step to using fastlane match is to initialise it in your project by running:
bundle exec fastlane match initThis command will guide through the process of setting up fastlane match in your project. First, you will be asked to select the kind of storage you want to use to store the encrypted code signing identities and provisioning profiles:

I will use git as it’s the option I am most familiar with, but you can choose any of the other options if you prefer.
Once you select git as the storage option, you will be asked to provide the URL of the repository where the code signing identities and provisioning profiles will be stored.
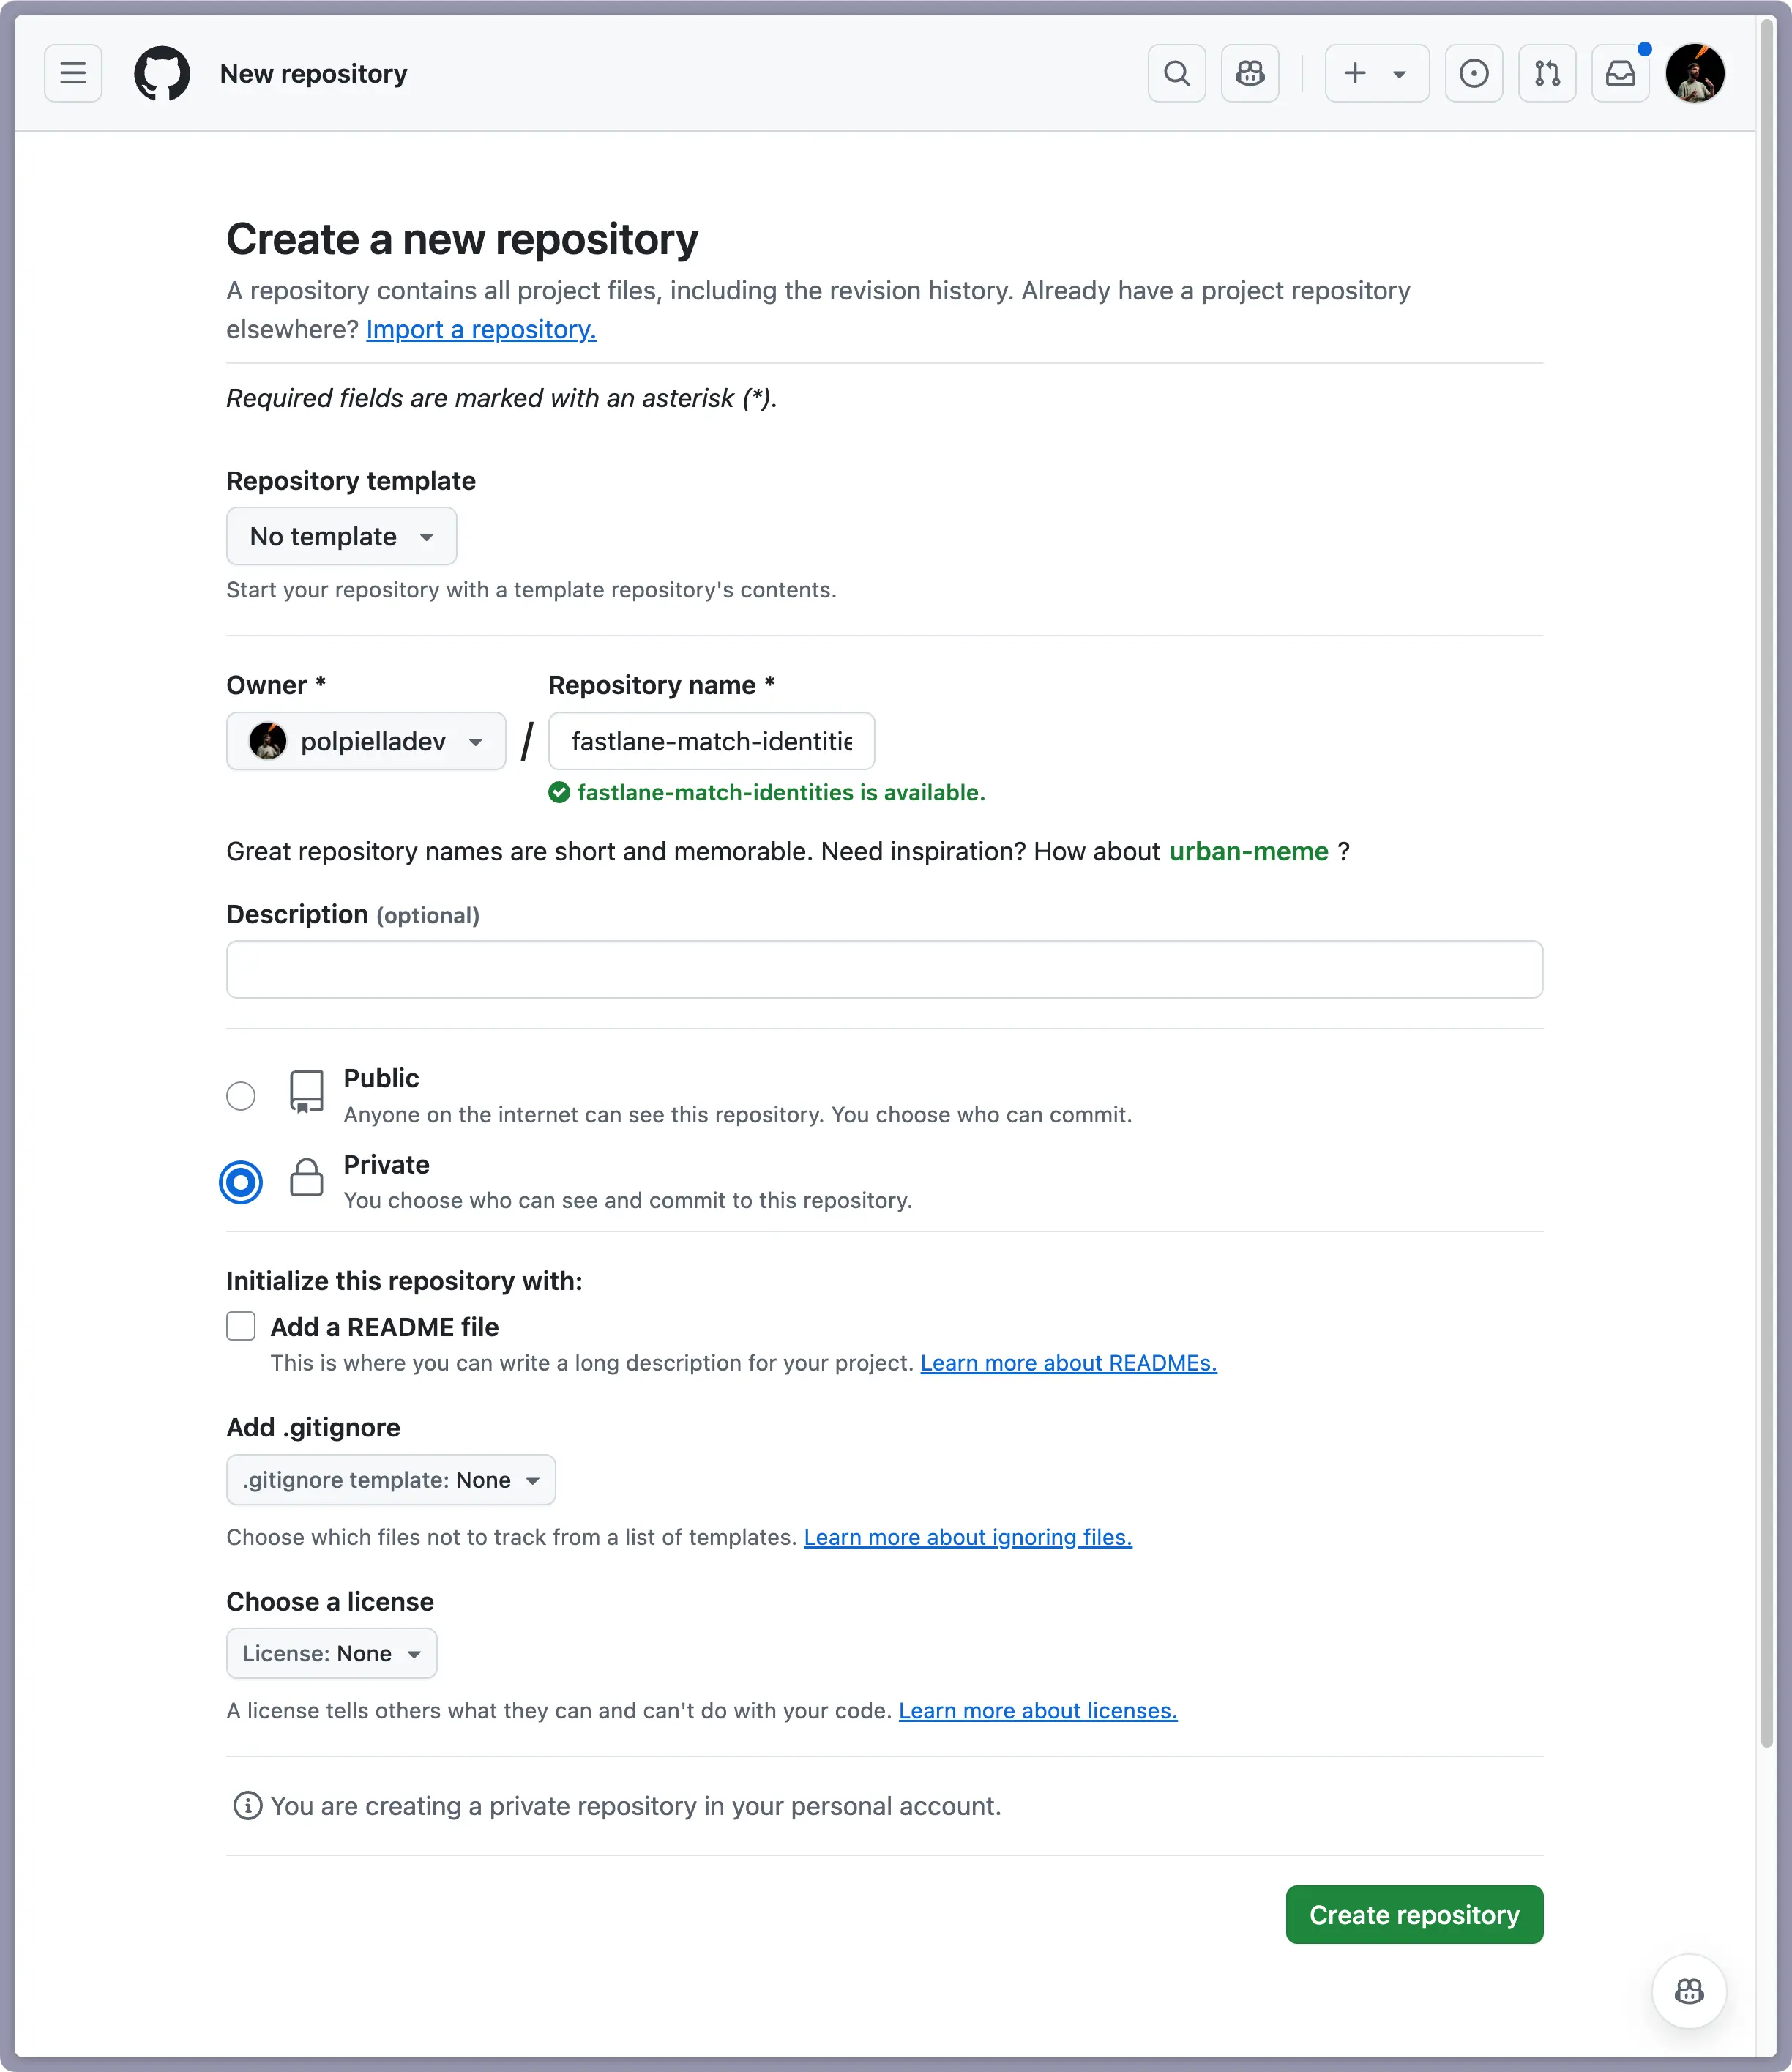
This MUST be a private repository as it will contain sensitive information about your app:

After you have created the repository, go back to the terminal and provide the HTTPS URL of the repository:

You’re all set up!
Generating signing identities
Let’s now generate the first set of code signing identities and provisioning profiles by creating a new fastlane lane:
desc "Generate profiles and certificates"
lane :generate_profiles_and_certificates do
    sync_code_signing(
        type: "appstore",
        app_identifier: ["com.yourorg.yourapp"],
        readonly: false
    )

    sync_code_signing(
        type: "development",
        app_identifier: ["com.yourorg.yourapp"],
        readonly: false
    )
end
The command above uses the built-in sync_code_signing action to generate the code signing identities and provisioning profiles for the App Store and development environments. The app_identifier parameter is the bundle identifier of your app and the readonly parameter is set to false to allow the lane to write to the repository.
You can now run the lane by executing:
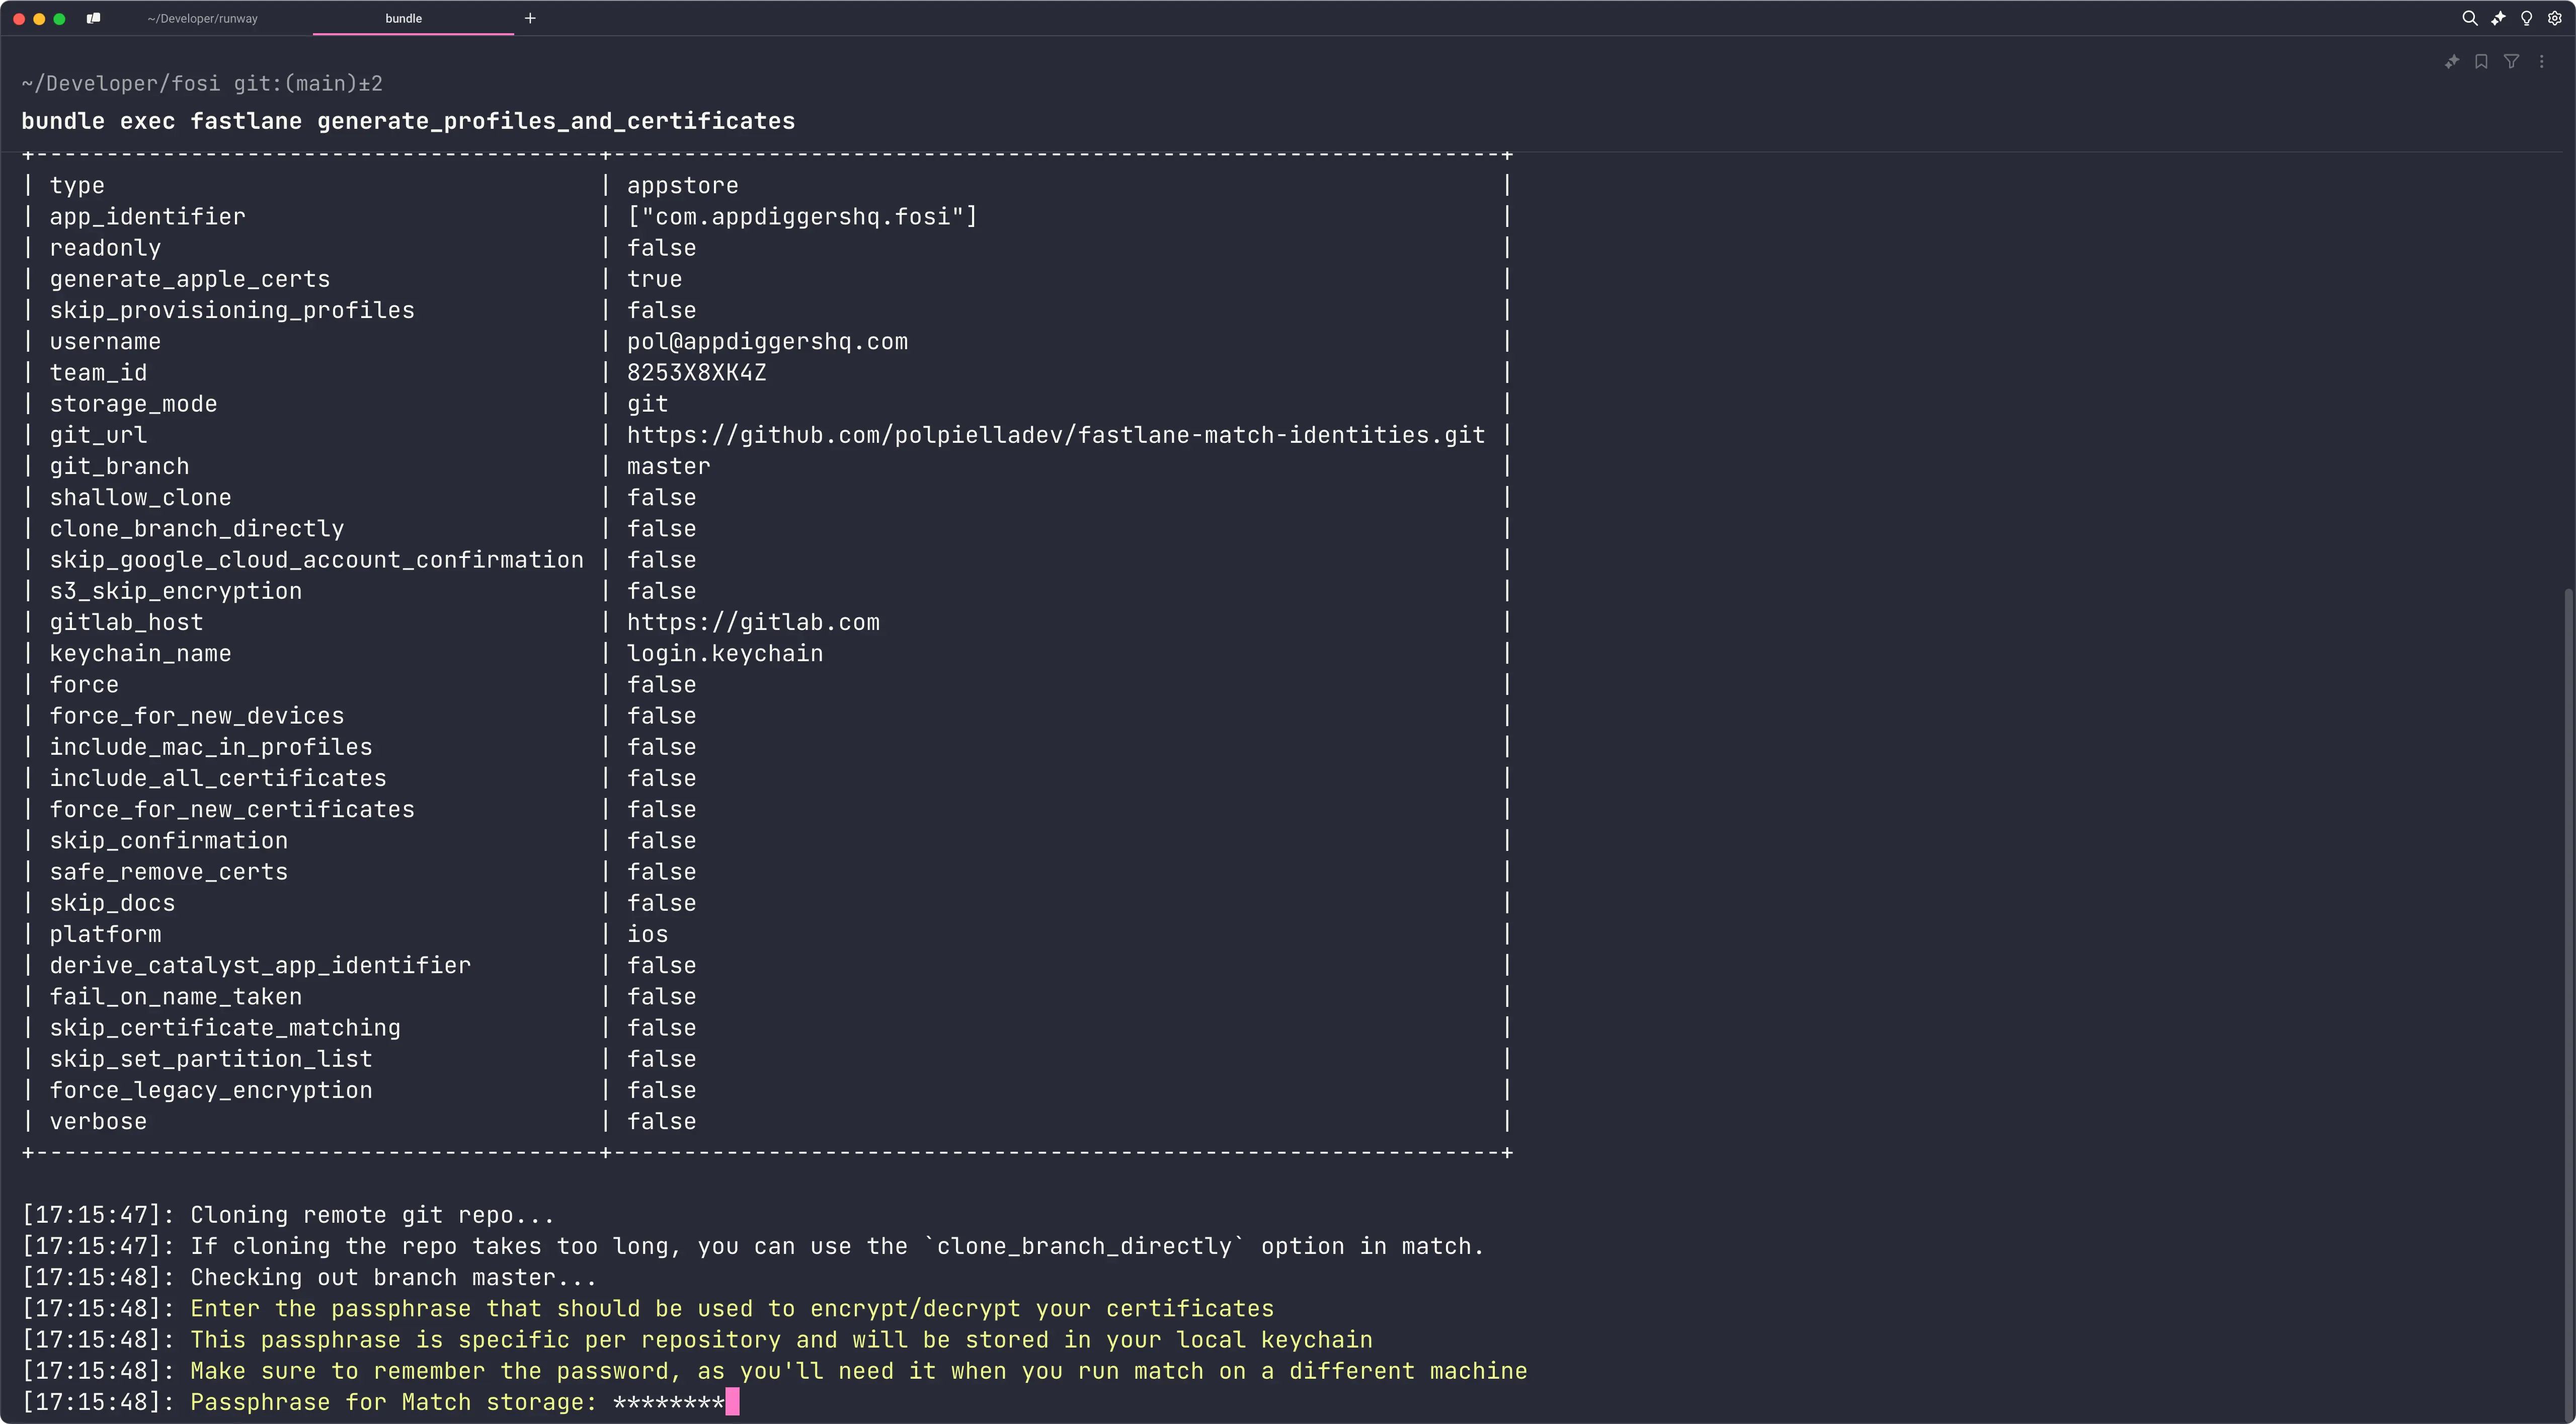
bundle exec fastlane generate_profiles_and_certificatesThe first time you run this command, fastlane match will ask you to come up with a password called ‘passphrase’ and an email called ‘username’ that will be used to encrypt and decrypt the repository data.
For the username, you would usually create a shared dedicated Apple Developer account with an email that can be shared across the organisation and that is still accessible even if the person that sets up fastlane match leaves the company.
The same applies to the passphrase, make sure you save it in a secure place that is accessible to all team members that need it by using, for example, a password manager:

The code signing identities and provisioning profiles will be generated in the Apple Development Portal and stored in the repository and system keychain:
You can then create a separate lane for everyone in your team to fetch and install the signing identities:
desc "Sync profiles and certificates"
lane :sync_profiles_and_certificates do
    sync_code_signing(
        type: "appstore",
        app_identifier: ["com.yourorg.yourapp"],
        readonly: true
    )

    sync_code_signing(
        type: "development",
        app_identifier: ["com.yourorg.yourapp"],
        readonly: true
    )
end
CI/CD code signing
To use fastlane match from a non-interactive environment such as a CI/CD pipeline, you will need to provide a number of environment variables to authenticate with the repository and decrypt the code signing identities:
- MATCH_PASSWORD: The passphrase you created when you first ran the
generate_profiles_and_certificateslane. - MATCH_USERNAME: The username you used when you first ran the
generate_profiles_and_certificateslane. - MATCH_GIT_BASIC_AUTHORIZATION: An authorization token that can be used for HTTPS clones of the repository. Create an access token in GitHub and then run this command to encode it in base64 and set it as the value of the environment variable:
echo -n your_github_username:your_personal_access_token | base64Make sure to set these environment variables in your CI/CD provider’s settings so that they are available to the fastlane match lanes when they run.
As fastlane match saves the signing identities to the system keychain by default and this is problematic in a CI/CD environment, you should create a separate keychain that is unlockable by fastlane_match using the built-in setup_ci action:
desc "Distributes a new build to App Store Connect"
lane :distribute do
    # Create a new, temporary keychain for this workflow
    setup_ci

    # Install the necessary certificates and profiles
    sync_code_signing(
        type: "appstore",
        app_identifier: ["com.yourorg.yourapp"],
        readonly: true
    )
end
And that’s it! You can now archive the application and it will be signed automatically by fastlane!