Developer guide to Swift AWS Lambdas

Go from confusion to confidence with a step-by-step Swift Concurrency course, helping you smoothly migrate to Swift 6 and fully leverage its features.
Swift is a mature and powerful language that can be used way beyond development for Apple platforms. Due to its low memory footprint, performance and safety features, it has become a popular choice for server-side development.
One particular use case where Swift shines is in the development of Serverless applications using AWS Lambdas and, since I have been building and deploying them for many use cases for a while now, I thought I would share my experience and some tips in this comprehensive guide.
Writing a Lambda function
The first thing you need to do to write a Lambda function in Swift is to create a new executable Swift package:
mkdir my-lambda && cd my-lambda
swift package init --type executable --name MyLambda
This will create the necessary folder structure and the following manifest:
// swift-tools-version: 5.10

import PackageDescription

let package = Package(
    name: "MyLambda",
    targets: [
        .executableTarget(name: "MyLambda"),
    ]
)
Adding the Swift AWS Lambda Runtime
To be able to write the code for the Lambda function, you need to make use of the swift-aws-lambda-runtime Swift Package by the Swift Server Work Group, which provides a Swift implementation of the AWS Lambda Runtime API:
// swift-tools-version: 5.10

import PackageDescription

let package = Package(
    name: "MyLambda",
    platforms: [.macOS(.v12)],
    dependencies: [
        .package(
            url: "https://github.com/swift-server/swift-aws-lambda-runtime.git",
            exact: "1.0.0-alpha.2"
        )
    ],
    targets: [
        .executableTarget(
            name: "MyLambda",
            dependencies: [
                .product(name: "AWSLambdaRuntime", package: "swift-aws-lambda-runtime")
            ]
        ),
    ]
)
Note that the swift-aws-lambda-runtime package has a minimum version requirement of 12.0 on macOS, so your executable Swift Package will need to target versions of macOS equal to or greater than 12.0. Failing to specify this requirement in the manifest will result in a compilation error.
Writing the Lambda function
You can now write the code for the Lambda function. To do this, create a struct that conforms to one of the available protocols provided by the AWSLambdaRuntime package and set it as the entry point of the executable using the @main decorator:
import AWSLambdaRuntime

struct RequestBody: Decodable {
    let name: String
}

@main
struct MyLambda: SimpleLambdaHandler {
    func handle(_ event: RequestBody, context: AWSLambdaRuntimeCore.LambdaContext) async throws -> String {
        return "You sent: \(event.name)"
    }
}
The SimpleLambdaHandler protocol is the simplest and most common way to define a Lambda function and requires any of its users to implement a handle method that takes a generic event parameter that must be of Codable type, a context containing information about the lambda’s execution environment and it returns a generic value of Codable type too.
The handle method is the entry point of the Lambda function and is called by the AWS Lambda Runtime engine whenever the function is invoked.
If your use case requires more flexibility, you must know that there are other protocols available in the AWSLambdaRuntime Swift Package that you can conform to:
- EventLoopLambdaHandler: An EventLoopFuture based implementation of the lambda handlers, which is designed for performance sensitive operations. Contrary to how other implementations work, EventLoopLambdaHandler conformant types execute all code on the same EventLoop as the runtime engine. This allows for a faster execution but requires paying a lot more attention to the implementation so that the EventLoop is never blocked.
- ByteBufferLambdaHandler: A lower-level implementation of the EventLoopLambdaHandler protocol. It is used by the higher-level EventLoopLambdaHandler and, as the source code states, EventLoopLambdaHandler should be chosen over ByteBufferLambdaHandler by the majority of users.
Listening to different events
While the code above works and is simple, it is not a very realistic example of a Lambda function. In practice, most Lambda functions are triggered by events sent by and from other AWS services.
For example, a lambda function could be invoked by an S3 bucket event sent whenever a new file is uploaded to it or by an API Gateway event whenever an HTTP request is made to a specific route.
// swift-tools-version: 5.10

import PackageDescription

let package = Package(
    name: "MyLambda",
    platforms: [.macOS(.v12)],
    dependencies: [
        .package(
            url: "https://github.com/swift-server/swift-aws-lambda-runtime.git",
            exact: "1.0.0-alpha.2"
        ),
        .package(
            url: "https://github.com/swift-server/swift-aws-lambda-events.git",
            exact: "0.4.0"
        )
    ],
    targets: [
        .executableTarget(
            name: "MyLambda",
            dependencies: [
                .product(name: "AWSLambdaRuntime", package: "swift-aws-lambda-runtime"),
                .product(name: "AWSLambdaEvents", package: "swift-aws-lambda-events")
            ]
        ),
    ]
)
These types can be used as the input and return types of the Lambda function you defined earlier in the article. For example, if you wanted to create a Lambda function that is triggered by an APIGateway event, you would write the following code:
import Foundation
import AWSLambdaRuntime
import AWSLambdaEvents

struct RequestBody: Decodable {
    let name: String
}

@main
struct MyLambda: SimpleLambdaHandler {
    func handle(
        _ event: APIGatewayV2Request,
        context: AWSLambdaRuntimeCore.LambdaContext
    ) async throws -> APIGatewayV2Response {
        guard let data = event.body?.data(using: .utf8),
              let body = try? JSONDecoder().decode(RequestBody.self, from: data) else {
            return .init(statusCode: .badRequest)
        }

        return .init(statusCode: .ok, body: "Your name is: \(body.name)")
    }
}
As you can see in the code snippet above, the input type is no longer the RequestBody Codable struct, but it is an APIGatewayV2Request type instead. This type is defined in the AWSLambdaEvents package and represents the event that is sent by version 2 of AWS’ API Gateway service to the Lambda function.
Similarly, the return type is no longer a String, but an APIGatewayV2Response type instead. This type is also defined in the AWSLambdaEvents package and represents the response that the Lambda function sends back to version 2 of AWS’ API Gateway service.
Running the Lambda function locally
Running the lambda function locally is a great way to test your changes before deploying them to AWS. The swift-aws-lambda-runtime allows you to run the executable where your Lambda function is defined as a local server by passing the LOCAL_LAMBDA_SERVER_ENABLED=true argument.
You can do this from the command line:
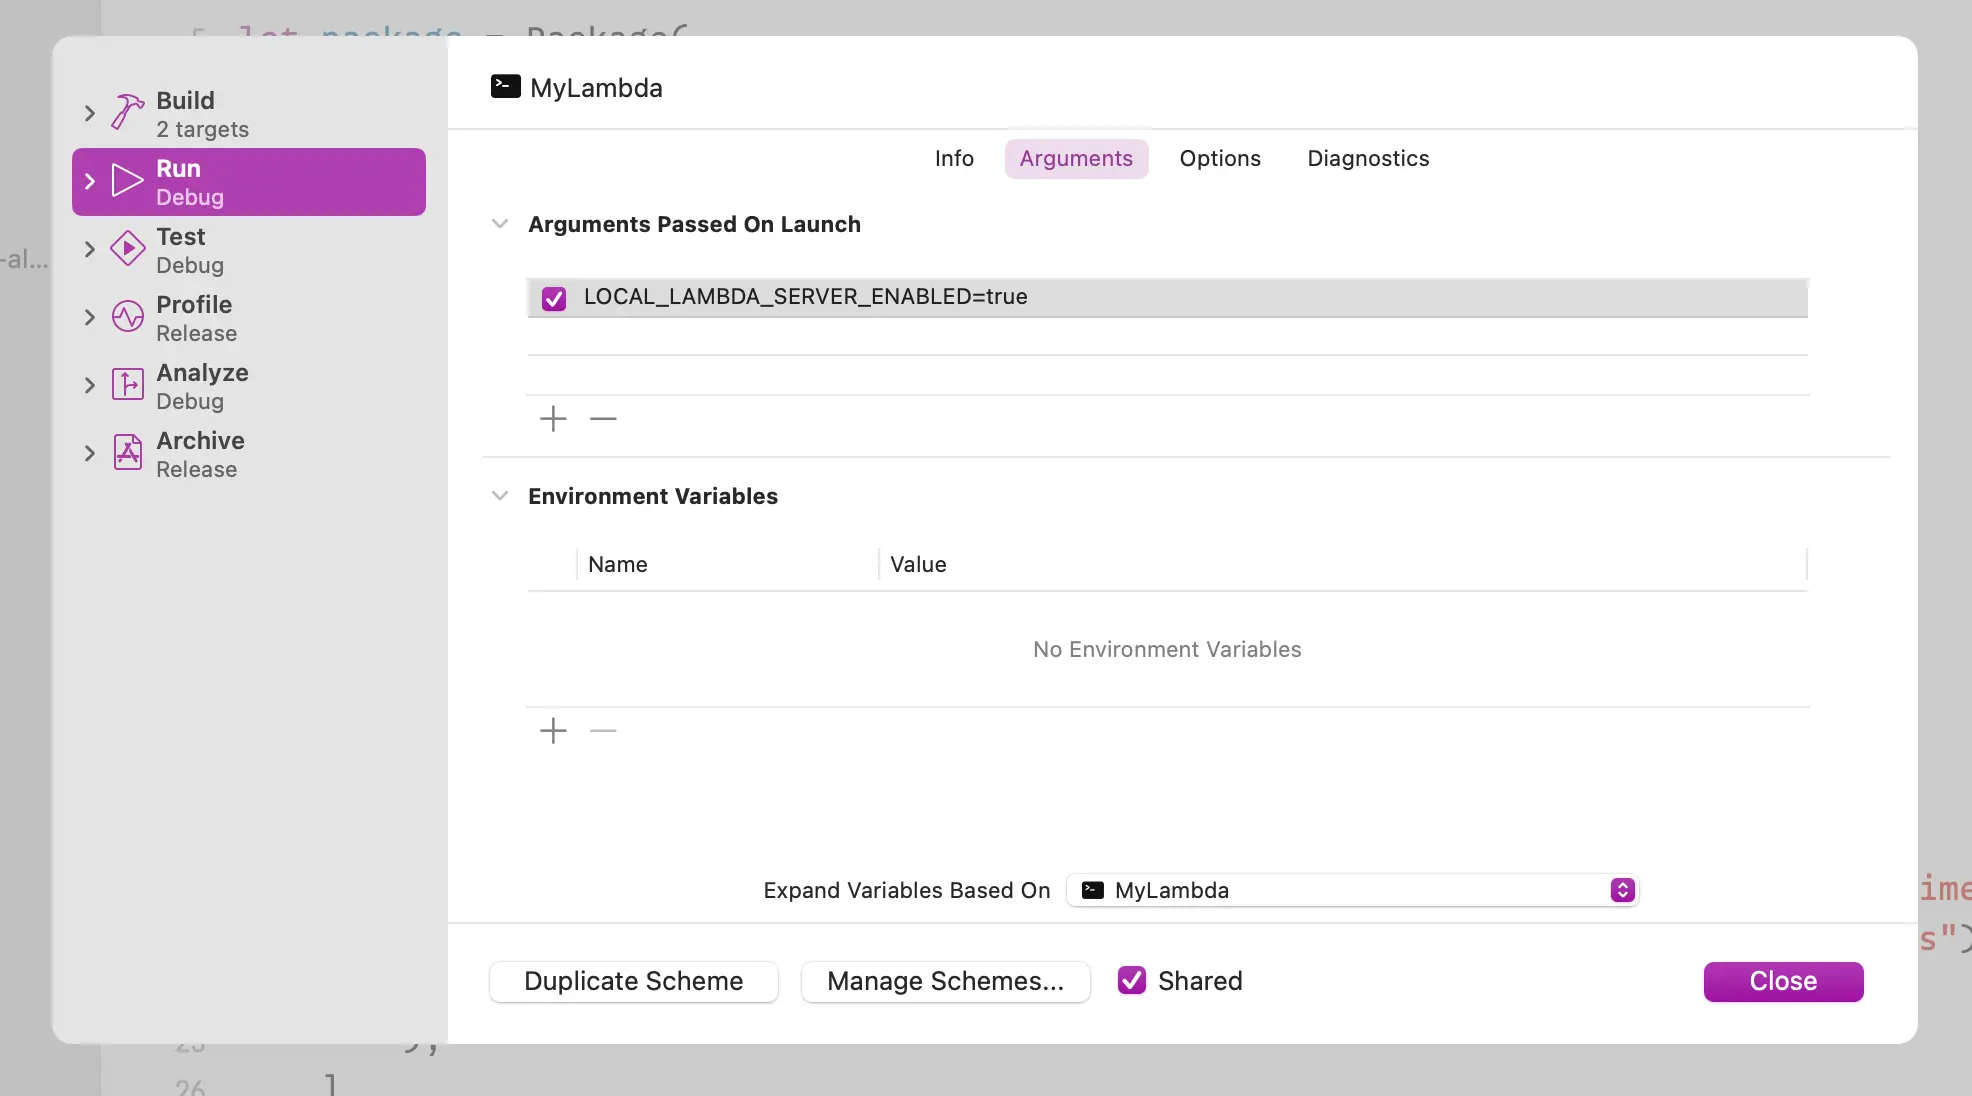
LOCAL_LAMBDA_SERVER_ENABLED=true swift runOr by running the auto-created executable scheme in Xcode after modifying it to add the LOCAL_LAMBDA_SERVER_ENABLED=true argument in the Arguments Passed On Launch section:
Running the executable will spin up a server that listens for POST requests on http://127.0.0.1:7000/invoke. You can then use a tool like curl from the command line or a client like HTTPie to send requests to the local server. The body of the request will need to match the structure and data of the event that the Lambda function expects as an input.
For the API Gateway example, you must send a JSON object in the shape of an APIGatewayV2Request event, where you can specify the method and body of the request:
{
    "routeKey": "POST /hello",
    "version": "2.0",
    "rawPath": "/hello",
    "stageVariables": {},
    "requestContext": {
        "timeEpoch": 1723647331,
        "domainPrefix": "name",
        "accountId": "0123456789",
        "stage": "$default",
        "domainName": "pol.com",
        "apiId": "abcdefg",
        "requestId": "abcdefg",
        "http": {
            "path": "/name",
            "userAgent": "Mozilla/5.0 (platform; rv:geckoversion) Gecko/geckotrail Firefox/firefoxversion",
            "method": "POST",
            "protocol": "HTTP/1.1",
            "sourceIp": "93.212.3.65"
        },
        "time": "14/Aug/2024:16:55:00 +0000"
    },
    "body": "{\"name\":\"Pol\"}",
    "isBase64Encoded": false,
    "rawQueryString": "",
    "headers":{
        "host": "pol.com",
        "user-agent": "Mozilla/5.0 (platform; rv:geckoversion) Gecko/geckotrail Firefox/firefoxversion",
        "content-length": "0"
    }
}
Logging and debugging
Aside from the input parameter, the handle function also receives a context parameter of type LambdaContext. This parameter provides information about the execution environment of the Lambda function, such as the AWS request ID or the cognito identity ID of the caller.
Aside from context-related information, the LambdaContext also provides a logger property that can be used to add messages to AWS CloudWatch logs with different levels of importance. Such logs can be useful for debugging issues in production where you can’t use a debugger and don’t have full control and access over the execution environment.
Let’s add some logs to our Lambda function:
import Foundation
import AWSLambdaRuntime
import AWSLambdaEvents

@main
struct MyLambda: SimpleLambdaHandler {
    func handle(
        _ event: APIGatewayV2Request,
        context: AWSLambdaRuntimeCore.LambdaContext
    ) async throws -> APIGatewayV2Response {
        guard let data = event.body?.data(using: .utf8),
              let body = try? JSONDecoder().decode(RequestBody.self, from: data) else {
            context.logger.error("Could not decode data for: \(event.body)")
            return .init(statusCode: .badRequest)
        }

        context.logger.info("Received request for name: \(body.name)")
        return .init(statusCode: .ok, body: "Your name is: \(body.name)")
    }
}
Building and deploying
Once you have the Lambda function building and running locally, you need to compile it into a suitable format and deploy it to AWS. AWS Lambdas run on Amazon Linux 2 operating systems, so you need to make sure that your Swift executable is compiled for this platform.
Packaging the Lamdba
The swift-aws-lambda-runtime Swift Package ships with a command plugin that uses Docker under the hood to compile the Swift code for the Amazon Linux 2 operating system and package it into a zip file that can be directly uploaded to AWS:
swift package --disable-sandbox archiveThis command will create a zip file at .build/plugins/AWSLambdaPackager/outputs/AWSLambdaPackager/MyLambda/MyLambda.zip that can be uploaded directly to AWS.
Uploading the Lambda to AWS
While you can set up the whole AWS infrastructure for your serverless application manually, I would highly recommend using the SAM CLI, which allows you to describe your serverless infrastructure in code using a template.yml file and package and deploy it to AWS using the sam deploy command.
To deploy a single lambda function with an associated API Gateway endpoint, you can use the following template.yml file:
AWSTemplateFormatVersion: '2010-09-09'
Transform: AWS::Serverless-2016-10-31

Resources:
  PostNameFunction:
    Type: AWS::Serverless::Function
    Properties:
      PackageType: Zip
      CodeUri: .build/plugins/AWSLambdaPackager/outputs/AWSLambdaPackager/MyLambda/MyLambda.zip
      Handler: bootstrap
      Runtime: provided.al2
      MemorySize: 128
      Timeout: 30
      Architectures:
        - arm64
      Events:
        # handles the GET /items method of the REST API
        Api:
          Type: HttpApi
          Properties:
            Method: post
            Path: /name

Outputs:
  SwiftAPIEndpoint:
    Description: "API Gateway endpoint URL for your application"
    Value: !Sub "https://${ServerlessHttpApi}.execute-api.${AWS::Region}.amazonaws.com"
You can then install and authenticate the SAM CLI on your machine and use it to deploy or update the serverless infrastructure described in the template file at any time using the following commands:
sam build
sam deploy --guided
Alternatively, you can use a CI/CD service like GitHub Actions to automate the deployment process entirely:
on:
  push:
    branches:
      - main
jobs:
  deploy:
    runs-on: ubuntu-latest
    steps:
      - uses: actions/checkout@v3
      - uses: aws-actions/setup-sam@v2
      - uses: aws-actions/configure-aws-credentials@v1
        with:
          aws-access-key-id: ${{ secrets.AWS_ACCESS_KEY_ID }}
          aws-secret-access-key: ${{ secrets.AWS_SECRET_ACCESS_KEY }}
          aws-region: eu-west-2
      - name: Build executable
        run: swift package --disable-sandbox archive
      - run: sam build --use-container
      - run: sam deploy --no-confirm-changeset --no-fail-on-empty-changeset